Generating Code
The final step in using the Codebricks Planner is generating the code for your microservices. This process translates your design and configuration into executable code on your local machine.
Setup the Code Client
To generate code, follow these steps:
-
Open the Generator Menu:
- Click on the ⚙ icon next to the Generate button in the top-left corner of the Codebricks Planner.

This action opens the Generator Menu.
-
Setup Code Client:
- Click on Setup Code Client in the Generator Menu.
Follow the prompts in the setup dialog to configure your Codebricks Client.
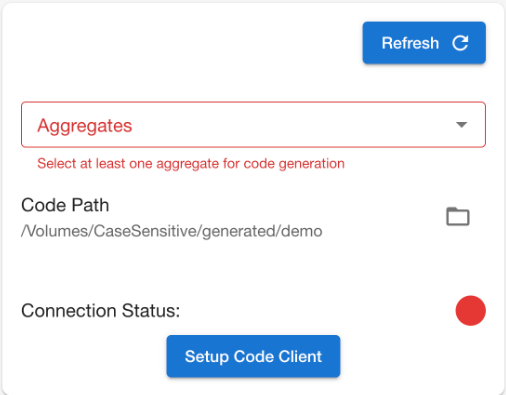
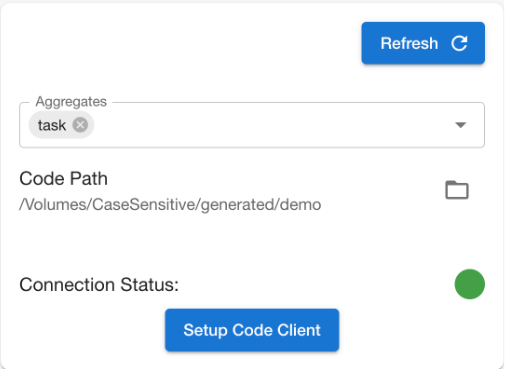
- Define the Path: Specify the directory where you want the generated code to be saved.
- Select Aggregates: Choose the aggregate(s) you want to include in the code generation from the dropdown menu.
-
Generate the Code:
- Once the setup is complete, the Generate button will be enabled.
Click the Generate button to start the code generation process.

The loading indicator will appear while the code is being generated. Once it disappears, the code will be available on your machine.
Ensure that all Use Cases you want to generate are in Ready status. Use Cases that are still in the Planned status will not be included in the code generation. For more information, see Use Case Management.